How to Remove Watermarks in Bulk: A Practical Guide for Photographers and Agencies
You've got 80 product photos from a client. Every single one has a watermark that needs to go before the campaign goes live tomorrow. You search 'batch remove watermarks,' click the first three results, and discover they're all the same recycled list of tools nobody actually tested at volume. Helpful.
This guide is different. It's built for photographers, creative directors, and agency teams who regularly deal with large batches of watermarked images — not someone trying to salvage one vacation photo. We'll cover what actually works, what's marketing fluff, and how to build a repeatable workflow that doesn't cost you half a day per project.
First, Let's Be Honest About 'Batch Mode'
Here's the thing nobody selling you a tool will say upfront: true one-click batch watermark removal with AI inpainting does not reliably exist yet. Not for complex watermarks. Not for semi-transparent overlays. Not for full-image diagonal text.
Every tool that claims otherwise is either running a simple threshold-based detection (works on the most uniform, low-complexity watermarks and fails on everything else), or it's outsourcing the hard part to a human review queue disguised as automation.
What does work at volume is a structured workflow that combines AI tools with smart organization — so you're not clicking blindly for hours, but you're also not lying to yourself about what the technology can do.
Understanding why this matters requires knowing a bit about how AI watermark removal actually works. If you want the technical background, the article on how AI inpainting works explains the mechanics in plain language — it's worth five minutes of your time before committing to any tool.
Classifying Your Batch Before You Touch a Single Image
The single biggest time-waster in bulk watermark removal is treating every image the same. Before you open any tool, sort your batch into three categories.
Category 1: Uniform Watermarks
Same watermark, same position, same size across all images. This is the best case. Stock agency exports often fall here — a logo always in the bottom-right corner, an identical opacity, a predictable bounding box.
For this category, some tools with scripting support can automate mask generation. More on that below.
Category 2: Semi-Uniform Watermarks
Same watermark visually, but the position shifts slightly depending on image dimensions. Or the watermark adjusts size proportionally. Common with agencies that apply watermarks programmatically.
You'll need to manually verify masks, but you can still batch-process the inpainting step once masks are approved.
Category 3: Variable Watermarks
Different position, size, opacity, or design per image. This is the realistic scenario for mixed-source batches — photos pulled from multiple stock libraries, client-submitted materials with inconsistent branding, or AI-generated images with varying overlay placements.
For this category, there's no shortcut. Each image needs individual attention. The goal is to make each individual removal as fast as possible — not to pretend you can automate it away.
If your batch is a mix of sources — say, some from Shutterstock, some from Getty, some from iStock — the watermark characteristics differ enough that treating them as one group will slow you down. Worth reading the specifics on Shutterstock watermark removal, Getty watermark removal, and iStock watermark removal to understand what you're dealing with per source before you start.
The Tools Reality Check
There are four categories of tools marketed for bulk watermark removal. Let's go through them without the promotional spin.
Desktop Software with Batch Scripts
Photoshop Actions and GIMP scripts can automate repetitive inpainting tasks — but only if the watermark location is pixel-perfect consistent. You define the mask once, record the action, run it on the folder. For Category 1 batches, this is genuinely useful.
The catch: the inpainting quality in Photoshop's Content-Aware Fill is inconsistent on complex backgrounds. You'll still need to review every output. And licensing Photoshop for this use case alone is expensive if you don't already have it.
CLI Tools and Python Scripts
If you're comfortable with the command line, tools like ImageMagick can handle geometric watermark removal (pure white or black overlays with no blending). Python libraries with OpenCV can mask and inpaint at scale.
The honest limitation: these approaches work well on simple overlays but fail entirely on semi-transparent watermarks blended into the image texture. For those, you need a proper AI inpainting model.
Browser-Based AI Tools (Including WatermarkOff)
WatermarkOff works image by image — you draw a mask over the watermark area, the AI reconstructs what's underneath. The quality is solid precisely because it's not trying to guess where the watermark is; you tell it exactly, and it focuses all its processing on getting that area right.
It's not a batch tool in the traditional sense. But for Category 2 and 3 batches, it's often faster per image than a poorly calibrated automated pipeline that produces outputs you have to re-do anyway.
For volume work, the practical approach is to open WatermarkOff in a browser tab, work through your sorted queue, and use the time saved on good organization to compensate for the per-image interaction.
'Bulk AI Watermark Remover' SaaS Products
A quick word on the tools specifically marketed as 'bulk AI watermark removers': most of them are running older detection models trained on common stock watermarks. They perform acceptably on Shutterstock and Getty logos in standard positions. They produce unusable results on anything outside their training distribution.
Worse, several charge you per image and process everything — including the ones where the removal failed — without flagging failures. You pay for a broken output. Always test with a representative 10-image sample before committing a large batch to any paid SaaS pipeline.
Building an Efficient Volume Workflow
Whether you're using WatermarkOff or any other tool, the workflow structure is what separates a three-hour session from a twelve-hour one.
Step 1: Audit and Sort (30 minutes for 100 images)
Open all images in a grid viewer (Lightroom grid view, Bridge, or even a quick macOS Finder column view). Sort into your three categories. Create three folders. Move files. This step alone will tell you if you have a manageable task or a nightmare on your hands.
Step 2: Define Your Mask Template for Category 1
If you have uniform watermarks, measure the bounding box coordinates in pixels for a representative image. Note the position relative to image dimensions (e.g., bottom-right, 200×80px, 20px from each edge). This is your template for scripting or for quickly snapping masks in any tool.
Step 3: Process Category 1 First
Get your easy wins out of the way. If you're scripting, run your batch action. If you're using WatermarkOff, the uniform position means each mask takes seconds to draw — you develop a muscle memory rhythm quickly.
Step 4: Review Outputs Before Moving On
Do not process 100 images and then review. Process 10, review all 10, fix any systematic issues with your approach, then continue. A problem that affects 10% of your outputs costs 10× less time to diagnose early versus at the end of the batch.
The article on why watermark removers stop working covers the most common failure patterns — things like semi-transparent gradients that fool detection, or edge-heavy compositions where inpainting reconstructs incorrectly. Worth scanning before you commit to a long run.
Step 5: Category 2 and 3 — Focus, Not Speed
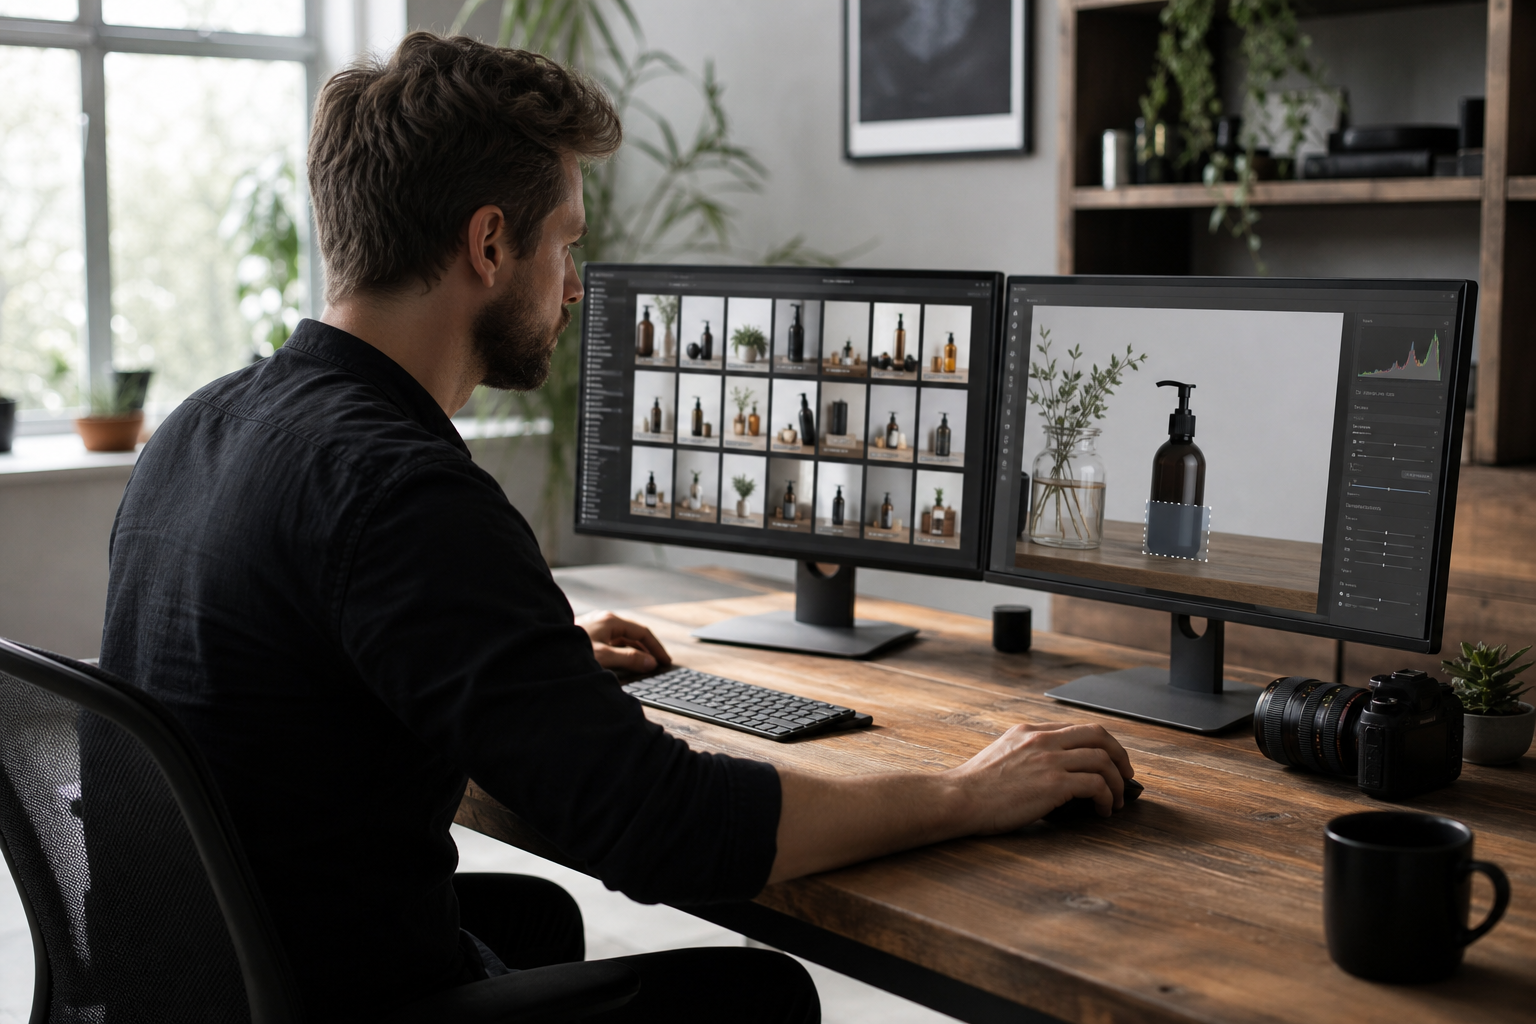
For variable watermarks, trying to go fast is how you end up with 40 images to redo. Set up a clean workspace: one monitor with your grid view of originals, one tab open with your removal tool. Work in blocks of 20–25 images, then take a break. Fatigue in detail work is real and produces inconsistent results.
Step 6: Quality Gate
Export all processed images to a 'Review' folder. View them at 100% zoom, not thumbnail size. Artifacts from AI inpainting — smearing, repeated texture patterns, color bleeding — are invisible at thumbnail scale and obvious at full resolution.
For a systematic approach to evaluating output quality, the guide on how to evaluate watermark removers has a practical checklist that applies whether you're reviewing one image or five hundred.
Specific Source Considerations for Agency Workflows
Agencies often pull images from multiple licensed sources — or deal with client-submitted assets that came from stock libraries. Each source has watermark characteristics that affect your approach.
Stock Library Watermarks
Shutterstock's diagonal watermark pattern is one of the harder ones because it repeats across the entire image. Getty's translucent overlay is similar. Adobe Stock uses a centered logo with variable opacity depending on image size. These are not the same problem, and they don't respond the same way to any given tool.
Detailed breakdowns are available for Adobe Stock, Canva, and Freepik watermarks if those are sources in your pipeline.
AI-Generated Image Watermarks
A growing part of agency asset libraries now includes AI-generated images. Midjourney free-tier images come with a visible watermark; Gemini and DALL-E outputs may have overlaid metadata badges or visible tags depending on export settings.
Important distinction: some AI generators also embed invisible cryptographic watermarks (like Google's SynthID) into the pixel data. WatermarkOff — and any visual removal tool — cannot touch those. They're not visible overlays; they're encoded into the image signal. If you're working with AI-generated content and invisible watermarks matter for your use case, the article on SynthID explained lays out exactly what that means technically.
For visible watermarks on AI images, the removal process is the same as any other image. Guides are available for Midjourney, Gemini, and DALL-E specifically.
Client-Submitted Watermarked Assets
This is the scenario agencies deal with constantly: a client sends 'reference images' with stock watermarks, asking you to 'make something similar' or 'use these for now.' The legal dimension here matters. You're not licensed to use those images just because you can technically remove the watermark. The legal context around watermarks is worth understanding so you can have that conversation with clients before the project starts, not after.
Common Mistakes That Turn a 2-Hour Job Into a Day
A few patterns that show up consistently when photographers or agencies do bulk watermark removal for the first time.
Mistake 1: Processing Originals Directly
Always work on copies. This is obvious, yet it gets skipped when someone's in a hurry. A failed inpainting pass on an original file that you then save over is an irreversible loss. Create a 'working' folder before you touch anything.
Mistake 2: Using the Wrong Tool for Gradient Watermarks
Semi-transparent gradient overlays — the kind that fade from opaque in one corner to invisible in another — are the hardest case for any AI inpainting tool. They require manual mask precision and often multiple passes. If your batch is full of these, budget more time per image and lower your output expectations for the first pass.
The guide on removing watermarks without losing quality covers this specific problem in detail — particularly the tradeoff between inpainting radius and edge sharpness.
Mistake 3: Skipping the Output Format Check
Some tools silently convert your files: PNGs become JPEGs, 16-bit TIFFs become 8-bit, color profiles get stripped. For product photography or print work, that's a professional problem. Check your first output's file properties before running the rest of the batch.
Mistake 4: Trusting Automation to Handle Exceptions
Every batch has outliers — images where the watermark sits over a complex edge, or where the background under the watermark is a gradient that the AI reconstructs poorly. Automated pipelines have no mechanism to flag these; they just process and move on. Build a human review step into your workflow, not as an afterthought but as a scheduled phase.
Mistake 5: Ignoring the Text Removal Problem
Some watermarks are pure text overlays — agency names, 'PROOF,' copyright strings. Text removal has specific challenges that differ from logo or pattern removal. If your batch has a significant proportion of text watermarks, the guide on how to remove text from images covers the approach that actually works on those cases.
What a Realistic Professional Setup Looks Like
Let's be concrete. Here's what an efficient setup for a 50-image batch looks like in practice, using WatermarkOff as the removal tool for the variable watermark portion.
Hardware: Two monitors if possible — one for your file browser and queue management, one for the removal tool. If you're on a single screen, split your desktop. Context switching between windows is a hidden time cost that adds up fast over 50 images.
File organization: Source folder → Working folder (copies) → Output folder (processed) → Review folder (spot-checked and approved). Never mix stages.
Browser setup: WatermarkOff in one tab, your file browser open in another. Drag the next image in while reviewing the previous output. Overlap your steps where you can.
Time benchmarks: A trained user can process a uniform-watermark Category 1 image in under 30 seconds on WatermarkOff — open, draw mask, process, download, next. For Category 3 variable watermarks on complex backgrounds, 2–4 minutes per image is realistic for good-quality output. A 50-image mixed batch should take 2–3 hours, including review. If someone's promising you 50 images in 10 minutes with any tool, they haven't shown you the output quality.
For a broader comparison of what's available and where different tools actually sit on the quality spectrum, the best watermark removers comparison covers the landscape honestly — useful if you're evaluating whether to add a second tool to your pipeline for specific watermark types.
FAQ
Can WatermarkOff process multiple images at once?
WatermarkOff processes images one at a time — you draw a mask over the watermark area and the AI reconstructs that region. There's no automated batch queue. For volume work, the practical approach is to organize your images into a sorted workflow and process them sequentially, which most professionals find faster than running a batch tool that produces inconsistent outputs requiring manual re-work anyway.
What's the fastest way to remove the same watermark from 100 images with identical positioning?
For pixel-perfect uniform watermarks, a Photoshop Action with a recorded Content-Aware Fill step is the fastest approach. Record the action on one image, run it on the batch via File > Automate > Batch. You'll still need to review outputs — automated inpainting fails on complex backgrounds even with correct mask placement — but the actual processing is hands-off.
Are there legal risks to batch removing watermarks for professional use?
It depends entirely on your relationship with the content. If you licensed the images and need to use the clean versions for deliverables, removing the watermark is part of your license rights. If the watermarked images are stock photos you haven't licensed — even 'for reference' purposes — removing the watermark doesn't give you usage rights. The license, not the absence of a visual mark, is what matters legally.
Why does my automated batch tool produce good results on some images and terrible results on others?
Automated watermark detection tools are trained on common watermark patterns from major stock libraries. They fail on watermarks that fall outside their training data — unusual positions, custom agency branding, transparent overlays with complex blending. The inconsistency isn't a bug; it's the predictable limit of a detection model encountering data it wasn't trained on. The fix is either manual masking for the outliers, or finding a tool trained on a more diverse dataset.
What file formats should I use when processing a large batch to avoid quality loss?
Work in PNG or TIFF throughout your processing pipeline, and only convert to JPEG at the final export step. JPEG compression applied multiple times introduces cumulative artifacts. Also verify that your removal tool preserves your source file's color profile — some web-based tools strip ICC profiles silently, which causes color shifts when the image is opened in color-managed software.
My client sent me 200 images with watermarks from different stock libraries. What's my best approach?
Sort by source first — Shutterstock, Getty, iStock, and others all have different watermark designs and positions. Process each source group separately rather than mixing them. This lets you identify systematic issues per source type early and adjust your approach before you've processed the entire batch. Mixing sources in one pass is how you end up reviewing 200 images for problems that were actually consistent per group and catchable at image 10.
One Image at a Time, Done Right
WatermarkOff won't pretend to magically process your entire folder in one click — but it will give you clean, high-quality removal on each image you bring to it. Draw your mask, get your result, move to the next one. For complex watermarks where automated tools consistently fail, that's the workflow that actually delivers.
Try WatermarkOff free