The Most Common Watermark Removal Mistakes (And How to Stop Making Them)
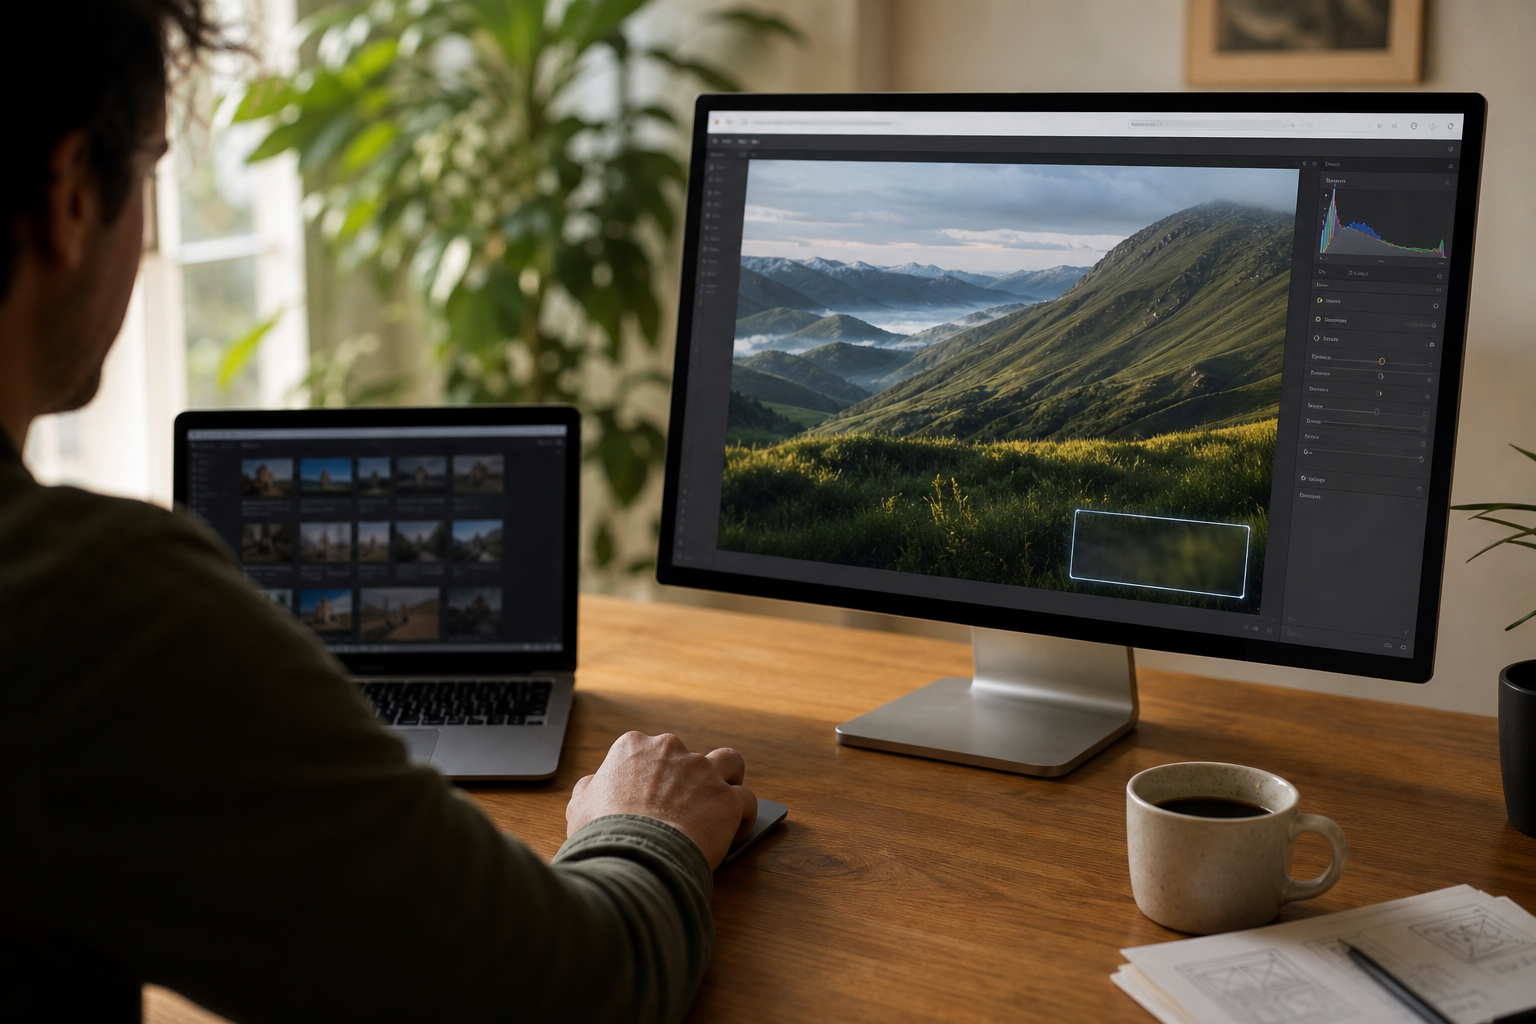
You've got an image, you've got a tool, and somehow the result still looks like someone smeared petroleum jelly over the exact spot you were trying to fix. Congratulations — you've just made one of the most common watermark removal mistakes, and you're in very good company.
This isn't a fluffy list of tips pulled from a content brief. These are the actual failure modes, explained clearly: bad selection areas, wrong tool for the wrong watermark type, and the slow image-quality death that happens between the AI step and your final export. Let's go through them one by one.
Mistake #1: Treating All Watermarks as the Same Thing
Here's where most people start: they see something on an image they don't want there, they call it a watermark, they reach for the nearest AI remover, and they're confused when it doesn't work. The problem is that "watermark" covers at least three completely different things, and the solution for each is completely different.
Visual watermarks: the ones AI can actually handle
A visual watermark is anything you can see on the image — a semi-transparent logo, repeated text across the image, a studio name in the corner, a copyright notice overlaid on a photo. This is what AI inpainting tools like WatermarkOff are built for: you mark the area, the AI reconstructs what should be underneath it based on surrounding pixels.
This works well when the watermark doesn't cover critical subject matter (eyes, faces, fine detail), when it has relatively consistent transparency, and when the background beneath it isn't too complex. Understanding how AI inpainting actually works helps you predict when results will be clean and when they won't.
Metadata signatures: a completely different problem
Then there's the growing category of invisible watermarks — things like C2PA Content Credentials, or Google's SynthID embedded in AI-generated images. These are not visual. You cannot see them. An AI inpainting tool cannot remove them because there's nothing to paint over — the signature is encoded in the file's data, not in its pixels.
If you're trying to deal with that category of problem, you need entirely different tools (ExifTool for metadata stripping, for instance), and even then, some watermarking schemes are designed to survive metadata removal. The SynthID situation is genuinely more complex than most coverage admits — worth understanding before you assume any tool can handle it.
The rule is simple: if you can see it, AI inpainting can attempt it. If you can't see it, AI inpainting is completely irrelevant.
Repeated tile patterns: the hardest visual case
A third category sits in the middle — full-image watermark patterns. Think of the classic Shutterstock or Getty style: semi-transparent text repeated across the entire image in a grid. These are visual, yes, but they're covering the entire image, not a localized area. AI inpainting needs surrounding context to reconstruct what's underneath. When the watermark covers 80% of the image, that context is gone.
Tools that claim to "remove Shutterstock watermarks" in one click are, to put it diplomatically, overstating their capability. The reality of removing Shutterstock-style watermarks is more nuanced than any "best tools 2026" list will tell you.
Mistake #2: Sloppy Selection — The Single Biggest Quality Killer
If you're using a brush-based or mask-based tool, the quality of your output is almost entirely determined by the quality of your selection. And most people rush this step, which is the single most predictable cause of bad results.
Selecting too little
The instinct is to be precise: paint only over the watermark text itself, stay tight within the letters. Makes sense in theory. In practice, it usually fails.
AI inpainting needs a margin. The model looks at the pixels around the masked area to understand what texture, color, and pattern should fill the gap. If your mask is pixel-perfect around the watermark, you're giving the model almost no breathing room — it will try to reconstruct from a border that's still partially affected by the watermark's semi-transparency, and the result will have a subtle but visible artifact ring around where the watermark was.
The fix: extend your selection a few pixels beyond the visible edge of the watermark on all sides. Yes, you're asking the AI to reconstruct slightly more — but you're giving it cleaner context to work from.
Selecting too much
The opposite error is less common but more destructive. When someone drags a selection box that covers the watermark plus a significant chunk of important subject matter — a person's face, a product's key detail — they're asking the AI to invent that content from scratch.
AI inpainting is genuinely impressive at filling in sky, grass, blurred backgrounds, simple textures. It is not impressive at reconstructing a face it's never seen. The result will be blurry, distorted, or anatomically wrong in ways that are immediately obvious.
The fix: if the watermark is overlapping something important, make multiple small selections rather than one large one. Work around the detail, not over it.
Ignoring the watermark's edge blending
Most professional watermarks aren't hard-edged. They fade out at the edges, they have varying opacity, they blend into the background. If your selection stops at the point where the watermark becomes barely visible, you'll get a result where the AI-reconstructed area ends with a hard edge that doesn't match the subtle fade you left outside the mask.
Check your result at 100% zoom, always. Zoom out only after you've confirmed the transition is invisible at full resolution.
Mistake #3: Using the Wrong Tool for the Job
The AI watermark removal space is full of tools that market themselves as universal solutions. Very few of them are. Choosing the wrong one for your specific case will cost you time, quality, or both.
General photo editors vs. dedicated inpainting
Tools built primarily for background removal, color correction, or general photo editing often have a watermark removal feature that's bolted on. It's rarely their core competency. The results tend to be inconsistent, especially on anything more complex than a simple corner logo.
Dedicated inpainting tools — including WatermarkOff — are built specifically to reconstruct image areas, which means the underlying model has been trained and tuned for exactly this task. The quality difference is real and visible. Comparing watermark removers honestly involves actually testing them on the same image, which most comparison articles don't bother to do.
Mobile apps vs. desktop/web tools
Mobile apps for watermark removal are almost uniformly worse than their web or desktop counterparts. The compute available on a phone is genuinely limited, and most mobile apps are running compressed, quantized models that sacrifice quality for speed. If precision matters, use a desktop browser.
That said, for quick fixes on the go, watermark removal on iPhone and on Android can be good enough — just go in knowing the quality ceiling is lower.
Batch tools for single images
The reverse mistake also exists: using a slow, manual, precision tool when you have 200 images to process. If every image has the same watermark in the same position, a batch watermark removal workflow will save you hours. Using a single-image tool 200 times is not a workflow — it's punishment.
Mistake #4: Destroying Quality at Export
This one is quietly responsible for a lot of bad-looking results that get blamed on the AI — when the AI actually did a fine job and the problem happened afterward.
Re-saving as JPEG at low quality
JPEG compression is lossy. Every time you save a JPEG, you lose information. If you take an already-compressed JPEG, remove a watermark with AI, and then save it again as JPEG at 60% quality "to save space", you have introduced compression artifacts that have nothing to do with the watermark removal.
The rule: if your source is JPEG, export your final result at 90-95% quality minimum, or use PNG if you need a lossless format. The file size difference is rarely worth the quality loss.
Resizing after removal
Resizing a JPEG down after watermark removal is fine. Resizing it up — upscaling — will make any reconstruction artifacts immediately more visible. The AI produced a result that looked clean at original resolution; at 200% zoom or after upscaling, every reconstruction edge will show.
If you need to upscale, do it with a dedicated AI upscaler, not with nearest-neighbor or bilinear interpolation in an image editor. And do it after the watermark removal, not before (upscaling before removal means the AI inpainting model is working on a larger, artificially generated image, which wastes compute and doesn't improve accuracy).
Format conversion that strips precision
Converting from PNG (lossless, full color depth) to GIF (256 colors, always lossy) or to a highly compressed WebP at the wrong quality setting will make reconstruction artifacts appear even on a previously clean result. If you're working with images destined for web use, export at the highest quality your pipeline allows and let the CMS or CDN handle compression — don't pre-compress before you've verified the result looks right.
For a deeper look at the whole quality preservation problem, removing watermarks without losing quality covers the specific settings and formats worth using.
Mistake #5: Not Evaluating the Result Properly
You removed the watermark. The thumbnail looks fine. You move on. Three days later you notice a weird smudge in the background that wasn't in the original. This is a workflow problem, not a tool problem — and it's fixable with one habit.
Always review at 100% zoom
AI reconstruction artifacts are almost always subtle at thumbnail scale and obvious at 100%. This is because modern inpainting models are genuinely good at getting the global impression right — the color, the general texture — but sometimes fail on fine detail or sharp transitions.
Open the result at full resolution before you use it for anything. Zoom into the area where the watermark was. Check the edges. Check for color banding, blurring, or texture mismatches. If you see any, you can often fix them by re-running the tool with a slightly different selection.
Compare against the original
Keep the original file. Open both side by side and check the area around the former watermark. The rest of the image should be pixel-identical — if your tool has somehow degraded the non-masked areas, that's a problem with the tool itself, not with your technique.
This is also how you honestly evaluate whether a watermark remover is actually doing a good job — not by looking at the marketing demo images, which are always cherry-picked.
Test on a copy first
Sounds obvious. Most people don't do it. If you're unsure about a selection or worried about quality, run the removal on a copy of the file first. You lose nothing except thirty seconds, and you avoid overwriting an original you can't recover.
Mistake #6: Misreading Why the Tool "Isn't Working"
When results are bad, most people's first reaction is to try the same thing again, harder. That rarely helps. When your watermark remover isn't working, the actual cause is almost always one of a short list of specific problems — not random AI failure.
The watermark has hard edges on high-contrast backgrounds
A white watermark logo on a white background is nearly invisible to you — and to the AI. There's nothing to detect, so even if you mask the area, the AI has no information about what was under the white-on-white overlay. This is a legitimate limitation, not a bug.
Dark watermarks on dark backgrounds have the same problem. If the watermark color blends into the background at the edges, reconstruction will have visible seams.
The source image was already heavily compressed
AI inpainting reconstructs based on surrounding pixel information. If the source image is a heavily compressed JPEG full of compression blocks, there's no clean information to work from. The reconstruction will inherit the compression artifacts and possibly amplify them in the filled area.
The solution is to work from the highest-quality source available, always. A 4MB JPEG will produce better results than a 400KB JPEG of the same image.
The watermark overlaps a complex foreground subject
If a logo sits directly over a person's eye, a detailed product label, or fine text in the original image, the AI cannot know what was there. It will generate a plausible reconstruction — but "plausible" and "accurate" are not the same thing. This is a use case where AI inpainting has a hard ceiling, and being honest about that saves you time.
Mistake #7: Confusing Legal and Technical Possibilities
This one sits slightly outside the technical mistakes, but it affects decisions often enough to include it.
Being able to remove a watermark visually, technically, with an AI tool, is not the same as having the right to use the resulting image. Stock watermarks from Getty, Shutterstock, Adobe Stock, and similar services exist specifically because those images are licensed content — the watermark is their commercial signal, not just a cosmetic annoyance.
Removing a watermark from a licensed image you don't own a license to doesn't change your legal position. The legal landscape around watermarks and AI-generated images is worth understanding if you're working in a professional context.
The practical note: tools that remove watermarks are legitimate for your own images, for images you hold a license to, for AI-generated content you produced, and for a range of creative and editorial workflows. They're not a bypass for content licensing. The distinction matters.
FAQ
Why does the area where the watermark was look blurry after removal?
Blurring after removal almost always means the selection was too large, the source image was already low-resolution or heavily compressed, or the tool is using a low-quality inpainting model. Try with a tighter, more precise selection and the highest-quality source file you have. If the blur persists, it's a ceiling of the tool itself — test an alternative.
Can I remove a watermark that covers the entire image, like Shutterstock's repeated text pattern?
AI inpainting can handle localized watermarks well. Full-image repeated patterns are genuinely difficult because the AI needs surrounding clean pixels to reconstruct what's underneath — and when the pattern covers the whole image, that context is minimal. Results will be inconsistent at best. No honest tool claims otherwise.
Does saving as PNG instead of JPEG improve watermark removal quality?
PNG is lossless, so saving your result as PNG prevents the re-compression quality loss you'd get from re-saving as JPEG. The removal quality itself is determined by the AI model and your selection — but exporting to PNG or to JPEG at 90%+ quality ensures you don't add artificial degradation after the fact.
Why does my result look fine zoomed out but bad at 100%?
AI inpainting models are trained to get the global impression right — color, general texture, rough structure. Fine detail and edge transitions at pixel level are harder, and artifacts that are invisible at 30% zoom can be clearly visible at 100%. Always review at full resolution before using any result.
Is it better to run watermark removal multiple times if the first result isn't perfect?
Not usually. Running the same tool with the same selection twice won't improve the result — the model will produce similar output from similar input. What helps is changing your selection (slightly larger margin, different shape), trying a different tool with a stronger inpainting model, or accepting that the specific image and watermark combination has a hard quality ceiling.
Does the file format of the original image affect removal quality?
Yes, significantly. JPEG compression introduces artifacts in the pixel data that the AI has to work around. PNG or lossless source files give the model cleaner information to reconstruct from. If you have access to a higher-quality version of the image, always start from that.
What's the difference between removing a watermark from a photo vs. an AI-generated image?
For photos, the challenge is reconstructing real-world texture and detail the AI has never seen. For AI-generated images, the base image is often already stylized, which can make reconstruction easier — the AI inpainting model doesn't need to match photorealistic complexity. However, some AI images carry invisible metadata watermarks (like SynthID) that inpainting cannot address at all — those require entirely different handling.
Got a Visual Watermark to Remove? Do It Right the First Time.
WatermarkOff uses AI inpainting to remove logos, text overlays, and watermarks from your images — draw a selection around the watermark, let the AI reconstruct what's underneath. No account required. Works best on localized visual watermarks on high-quality source images.
Try WatermarkOff free